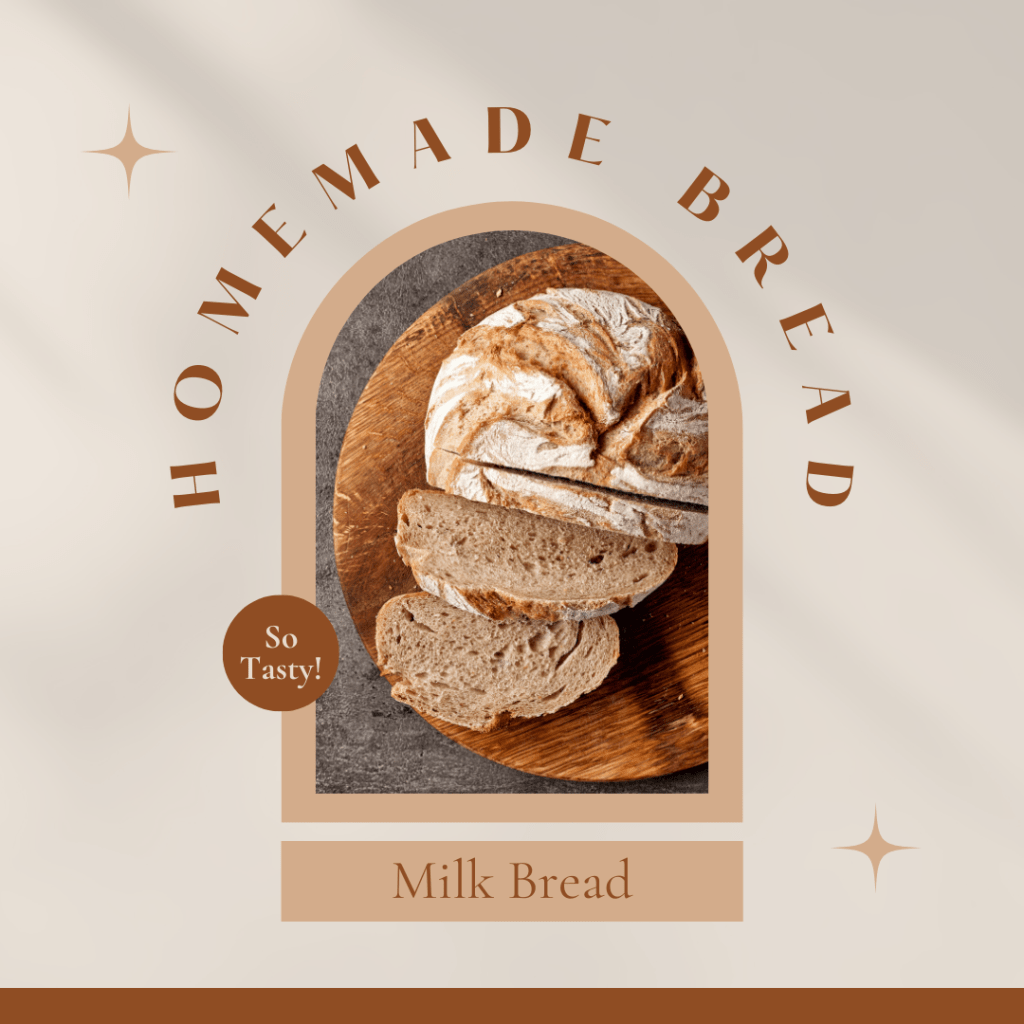
Hold onto your taste buds, because we’re diving into the whimsical world of milk bread magic! Imagine sinking your teeth into a slice of sheer ecstasy – it’s like biting into a cloud that’s been sprinkled with a touch of sweetness. But here’s the twist: milk bread isn’t your average loaf; it’s a bona fide culinary wizard. Milk struts its stuff alongside traditional bread ingredients, creating a show-stopping symphony of textures – think tender, think pillowy, think sheer perfection. This bread is like a worldwide flavor parade, loved and adored across the globe. And guess what? It comes in all shapes and sizes, from dainty rolls that could win a beauty contest to robust loaves that mean business. But that’s not all – milk bread is the ultimate team player, ready to rock your taste buds in a sandwich showdown, make mornings epic with some French toast flair, or just be a solo superstar in all its unadorned glory. So whether you’re a bread aficionado or a flavor explorer, milk bread is here to sprinkle a little enchantment into every single bite. 🍞🌟
Ingredients:
2/3 Cup Slightly Warm Milk
1/3 Cup Heavy Whipping Cream
1 Egg (Yolk & White)
1/4 Cup Granulated Sugar
2 Tbsp Dry Milk Powder
1 tsp Salt
2-1/4 tsp Instant Yeast
2-1/4 cup Flour – (I used all purpose flour) – you may need 2 Tbsp more when kneading the dough
Egg Wash (1 Egg – Mix Yolk & White – Used after Bread Rises before baking)
2 Tbsp Melted Butter (Used after the bread is baked)
Directions:
- Mixing Magic: Grab a mixing bowl (the snazzier, the better, but any bowl will do). Toss in the cool kids: milk, cream, sugar egg, yeast, dry milk, and a pinch of salt. Give ’em a whirl, a spin, a good ol’ mix until they’re mingling like party pals.
- Flour Fling: Slowly introduce the flour to the bash. Keep the groove going as you mix, mix, mix. Let the flour dance with the wet gang until they’re one big happy family.
- Mixin’ Moves: For those with a fancy dance partner (stand mixer, anyone?), let it waltz with the dough hook on low for 12-15 minutes. If the dough’s acting a bit clingy at the 7-minute mark, show it some tough love with 2 tablespoons of flour. Just don’t go overboard – sticky is trendy here. If your kitchen crew consists of a hand mixer or wooden spoon, be ready for an arm workout that’s worth it.
- Knead-a-Palooza: Now, dump that fabulous dough onto a floured stage. Get your palms in on the action – knead like you’re giving the dough a spa day, making sure it’s feeling smooth and fancy.
- Rise and Shine: Time to give your dough the VIP treatment. Butter up a bowl (because butter makes everything better) and tuck the dough in for a cozy hour-long nap in a warm corner of your kitchen. You’re not babysitting – you’re nurturing greatness. Watch it grow and double in size like a superstar.
- Punchin’ Party: Give the dough a friendly fist bump to release any pent-up excitement. Then roll it out onto a floured runway. Your dough’s a model now, so mold it into three diva-worthy sections.
- Ballroom Glam: Shape those dough sections into sassy balls, cover them with a doughy blanket, and let them daydream for 15 minutes.
- Rectangle Rendezvous: Grab each ball and roll them out like doughy red carpets into 3-4″ by 7-8″ rectangles. Flip ’em over to reveal their smoother sides. Time to fold in those edges – think dough origami. Tri-fold them like a mini spa brochure and squish the seams with a wink.
- Pillow Parade: Roll your dough rectangles into soft, fluffy pillows. Line up those pillow posse – you’re getting close to showtime.
- Pan Party Prep: Give your bread pan a buttery makeover. Slide those dough pillows into the pan – a gentle squish and they’re good to go. Time to let them rise for about 45 minutes. Oh, and while they’re puffing up, heat things up to 350°F (175°C) in the oven.
- Egg-citement Unleashed: The rising’s over – it’s time for a glam makeover. Whip up an egg wash and let those loaves shine in it. Send them to the oven stage for their 22-25 minutes of fame. If the spotlight’s too intense, throw on a foil hat (aka tent).
- Ta-da Finish: When the timer chimes, give that pan a little “tap-tap” on the countertop – it’s showtime magic. Quick, brush those superstar loaves with butter, tip ’em out of the pan, and onto a wire rack. Let them cool like the VIPs they are.
- Slice ‘n’ Savor: Grab your slicer and unleash your inner artist. It’s time to turn those superstar loaves into edible masterpieces. Slice, admire, and enjoy the magical goodness you’ve created. Breadventure complete! 🍞🎉
We love and regularly use USA Pans for pretty much all of our baking needs. They have a nonstick and quick release coating that makes breads and baked goods come out like a dream. Even though we grease the pan in this recipe, you don’t have to worry about your precious loaves getting damaged in these pans. If you are interested in purchasing one, please check them out at the link below:
USA Pans – Loaf PanDisclosure: There are some affiliate links above and I may receive commission for purchases made through the links in this post, but these are all products I highly recommend. I won’t put anything on this page that I haven’t verified and/or personally used.

Leave a comment