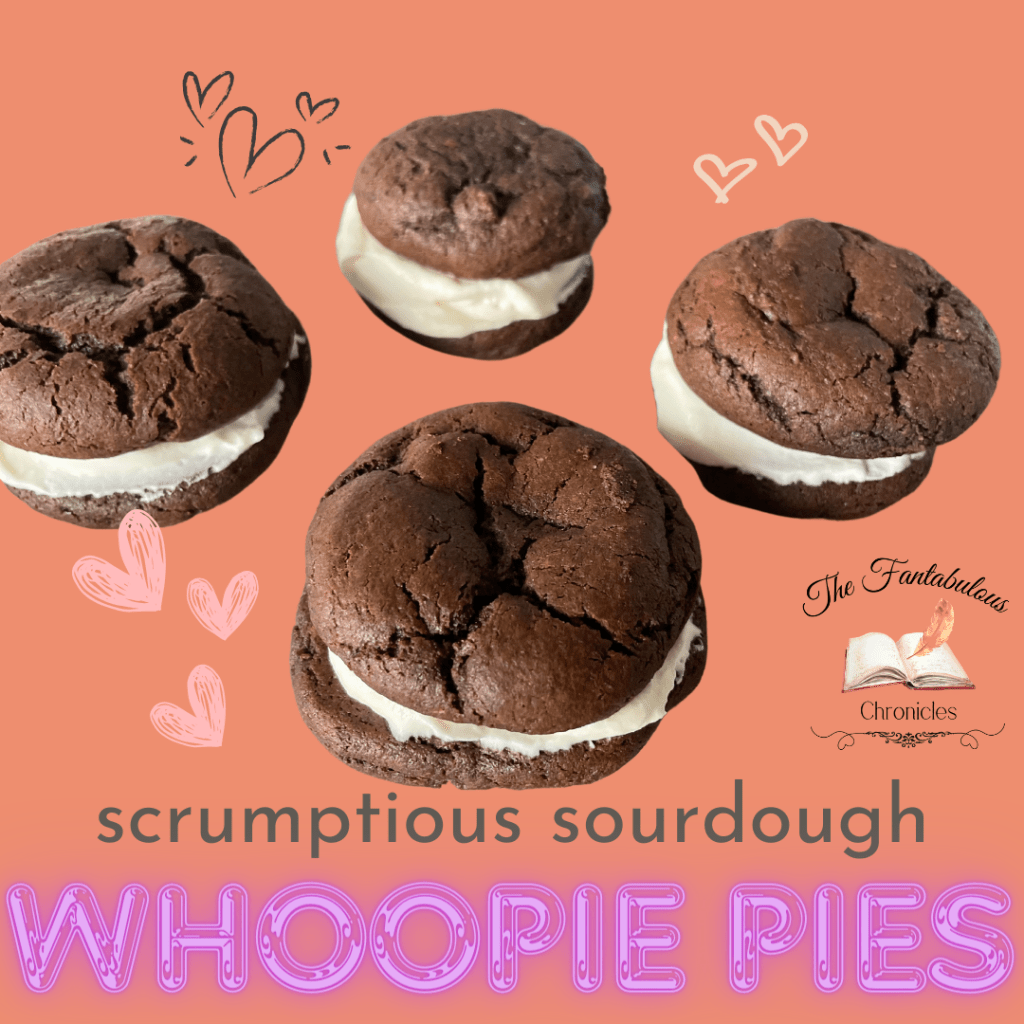
As a kid growing up in Northern Indiana, it was always a special treat to venture into Amish country and get a chocolate whoopie pie during the summer flea/farmer’s Market escapades with my family. There is nothing better than sinking your teeth into soft, chewy cake and tasting the sweet filling that complements it perfectly. If you’ve never had one, think oreo cake-ster, but 100000x better!
I’m not sure why I never thought to replicate this childhood treat at home instead of being pleasantly surprised to find whoopie pies in the wild outskirts of our travels, but I decided to take the plunge!
I will say that traditional Amish Whoopie Pies have a shelf stable filling, typically made from shortening. These do not. I opted for fresh whipped cream since my hubby is not a huge fan of the traditional filling. However, you can fill these yummy cookies with anything! Ice cream, peanut butter spread, marshmallow cream! If it tastes good with chocolate, its a go! I’m hoping to experiment and see what other flavors of Whoppie Pies I can make. My kiddos are eagerly awaiting their role as taste testers!
Ingredients:
2 cups all purpose flour
½ cup sourdough discard
¾ cups unsweetened cocoa powder
2 tsp baking soda
½ tsp baking powder
½ tsp salt
½ cup coconut oil
1 cup granulated sugar
2 eggs
1 tsp vanilla extract
¼ cup milk
Directions:
- Crank up your oven to a sizzling 350 degrees. Time to get bakin’!
- On the stovetop, melt 1/2 cup of coconut oil over low heat. Let it cool down and take a breather.
- In a small mixing bowl, whisk together the flour, baking soda, baking powder, and salt. Set it aside and tell it to chill.
- In a large mixing bowl, whisk together the cooled coconut oil and sugar. Add the eggs and mix until they’re best friends. Pour in the milk, vanilla, and sourdough discard, then whisk until it’s smoother than a pick-up line.
- Gradually add the dry ingredients and cocoa powder to the wet mixture. Stir until everything’s well mixed and the dough’s thicker than a Southern accent.
- Grab a tablespoon of dough and roll it between your hands like you’re making tiny, delicious snowballs. Place each dough ball on a parchment-lined baking sheet about an inch apart. Gently press down the tops to give ’em a little hat.
- Pop those babies in the oven and bake at 350 degrees for 9 to 10 minutes. Watch the magic happen.
- Let the cookies cool for about 5 minutes before transferring them to a wire cooling rack. Patience, my friend.
- While the cookies are baking, whip up your filling. You can use a cold bowl and a whisk or a stand mixer with a wire whisk attachment if you want to feel fancy. The stand mixer is quicker, but hey, no pressure.
- Pour 8 ounces (half of a 16-ounce container) of heavy whipping cream into the mixer bowl. Mix on medium speed for 2 to 3 minutes until stiff peaks form. Add in the powdered sugar and vanilla extract, and mix for another 30 seconds. Be careful not to overmix, or you’ll end up with butter, and ain’t nobody got time for that.
- Slap a big ol’ dollop of whipped filling on half of each cookie, then gently smoosh another cookie on top to make a sandwich or whoopie pie. Ta-da!
NOTES:
- This filling recipe is as simple as pie and super versatile. If you want to jazz it up a bit, fold in 1/2 cup of marshmallow fluff. Go wild!
- These cookies store beautifully. Stick ’em in an airtight container in the fridge for 3-4 days and enjoy whenever the cookie monster inside you strikes!

Leave a comment